
How to share your StarryAI images on social media
StarryAI is a powerful tool that allows users to generate stunning images using artificial intelligence.
However, once you have an image ready, the question arises: how do you share your creations on social media to reach more people?
In this tutorial, I will guide you step by step on how to share your StarryAI images on platforms such as Instagram, Facebook, X (Twitter) and other social networks, optimising the process so that your creations stand out to their fullest.
Accessing your generated images in StarryAI
To share your images on social media, you first need to access them in the StarryAI app.
Once you have completed a generation, follow these steps:
1. View your images in the StarryAI gallery
When the AI finishes generating your images, they will be available in the gallery within the application. Open StarryAI and go to the Projects section, where you will see all your creations.
Here, you can explore each image individually by clicking on it.
2. Download your image to your device
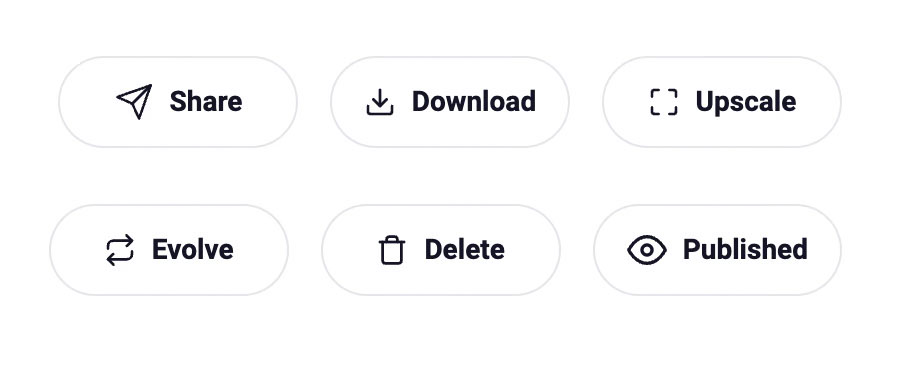
Before sharing, you need to download the image to your device. To do so, select the image you wish to share and click on the Download button, represented by a downward arrow icon.
The image will be saved to your mobile’s photo gallery or your computer’s downloads folder.
Sharing directly from StarryAI
A useful feature of StarryAI is that you can share directly from the app to various social platforms.
Here’s how to do it:
1. Integrated share button
When viewing your image in the app, you’ll find a Share button. Pressing it will open a menu with different sharing options.
This will allow you to post directly to social networks like Instagram, Facebook or Twitter without leaving the app.
2. Adjusting the format and size of the image
Before sharing, make sure the format and size of the image are correct for the platform you intend to post on. For example, Instagram recommends a square format (1:1) or vertical, while X allows a horizontal format.
If needed, edit the image using additional tools or adjust its size within the app before sharing.
Sharing on Instagram
Instagram is one of the most visual platforms, so sharing your StarryAI-generated images there can give them great exposure.
Here are the steps:
1. Upload an image to the feed
Once you’ve downloaded the image or selected it from the share button, open Instagram. On the main screen, press the + button to upload a new post. Select the image you downloaded from StarryAI from your gallery and adjust the crop if necessary.
You can add filters and edit the image according to your style.
2. Add a suitable description
It’s important to add a good description to your image. Here, you can briefly describe the creative process or how artificial intelligence helped you generate the image.
Additionally, take advantage of popular hashtags like #AIArt, #StarryAI or #DigitalArt, which can increase the visibility of your post.
Sharing on Facebook
Facebook remains a popular platform for sharing visual content and can be a great place to showcase your StarryAI images.

Here are the steps:
1. Post from your mobile
Open the Facebook app on your mobile and select the Photo/Video option. Then, choose the image you downloaded from StarryAI.
Add a catchy title or description that will capture your followers' attention.
2. Use digital art groups
One of Facebook’s advantages is that it has groups dedicated to digital art and artificial intelligence. Posting your images in these groups will help you reach an audience more interested in this type of content.
Remember to read each group’s rules before sharing.
Sharing on X (formerly Twitter)
X, previously known as Twitter, is ideal for quickly sharing your StarryAI images and generating instant interaction.
Follow these steps:
1. Create a post with the image
To share on X, open the app and click the Post button. Select the image icon and find the image you generated with StarryAI.
Add a short comment summarising the image or creation process.
2. Use relevant hashtags
On X, hashtags are key to getting your image seen by more people. Use tags like #AIArt, #StarryAI or #DigitalArt.
You can also tag other artists or digital art accounts to boost engagement.
Other social networks and platforms
In addition to the platforms mentioned, there are many other networks where you can share your StarryAI-generated images:
1. Pinterest
On Pinterest, you can create boards to showcase your creations. Upload your image, select the appropriate board, and add a keyword-rich description to attract more traffic.
2. Reddit
Reddit has an active community of digital creators. You can share your images in subreddits related to digital art, artificial intelligence, or even in communities dedicated exclusively to StarryAI.
3. LinkedIn
Although LinkedIn is more focused on the professional sphere, if you are involved in digital art or content creation, this platform can be useful to showcase your work.
Post an entry about your creative process using StarryAI and accompany it with your images.
Tips for improving the visibility of your images
Finally, here are some additional tips to maximise the reach of your StarryAI-generated images:
1. Post at the right times
The timing of your posts can significantly affect the reach of your images. Research the times when your followers are most active on each social network and schedule your posts accordingly.
2. Participate in digital art challenges and events
Many platforms, such as Instagram or Twitter, organise weekly or monthly challenges related to digital art.
Participating in these events can give you greater visibility, as organisers often promote the best entries.
3. Interact with other creators
Don’t underestimate the power of interaction. Comment, share, and "like" other content creators’ posts on your social networks.
This fosters reciprocity and will help you build a community around your StarryAI creations.
Leave a Reply