
How to get started with StarryAI
StarryAI is an application that uses artificial intelligence technology to generate images from text.
Through an advanced algorithm, it converts written descriptions into visual pieces, allowing users to create art in a simple and quick manner.
Getting started with StarryAI is quite straightforward. Below, we’ll show you how to do it in just a few simple steps.
Registering and accessing StarryAI
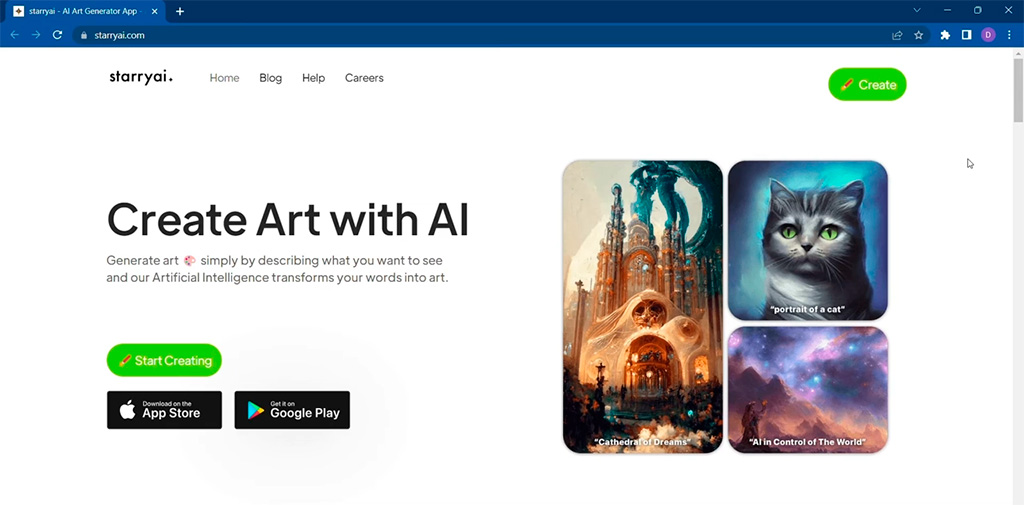
The first step to using StarryAI is registering on the platform. You can access it through the official website or download the app on your mobile device.
1. Downloading and installing the app
StarryAI is available on both Google Play and the App Store, making it accessible for Android and iOS devices. Head to the relevant store, search for "StarryAI," and proceed to install the app on your device.
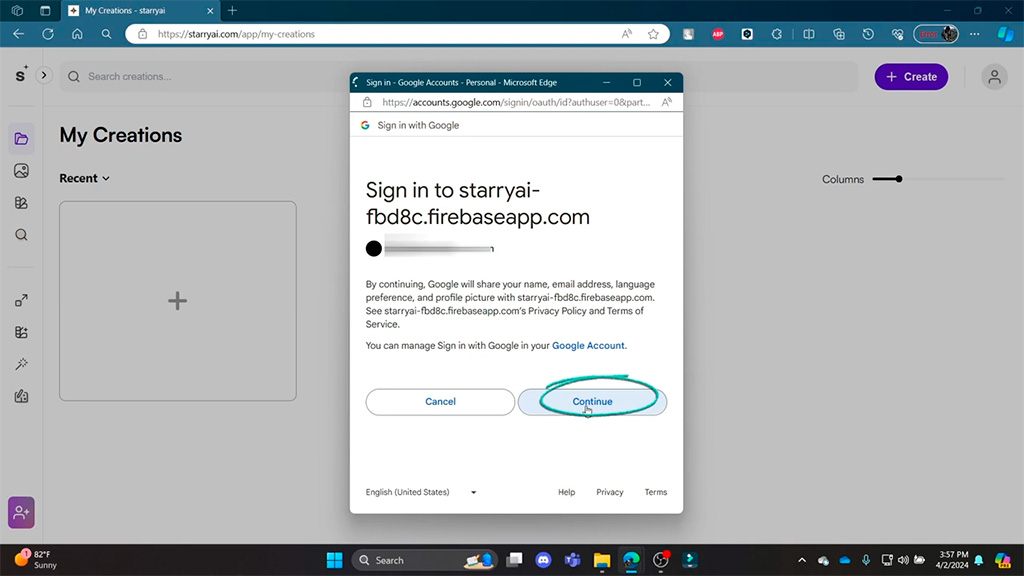
Once the app is installed, the next step is to create an account. StarryAI allows you to register using your email address or through social media accounts like Google or Apple.
2. Creating an account
To create an account, follow these steps:
- Click "Sign Up" or "Register".
- Fill out the form with your email and create a secure password.
- Confirm your email via the link you will receive in your inbox.
This step is important as it will allow you to save your generated images and access your projects from different devices.
3. Main interface
Upon accessing StarryAI, you will find a simple and intuitive interface.
On the main screen, you’ll see several options, such as:
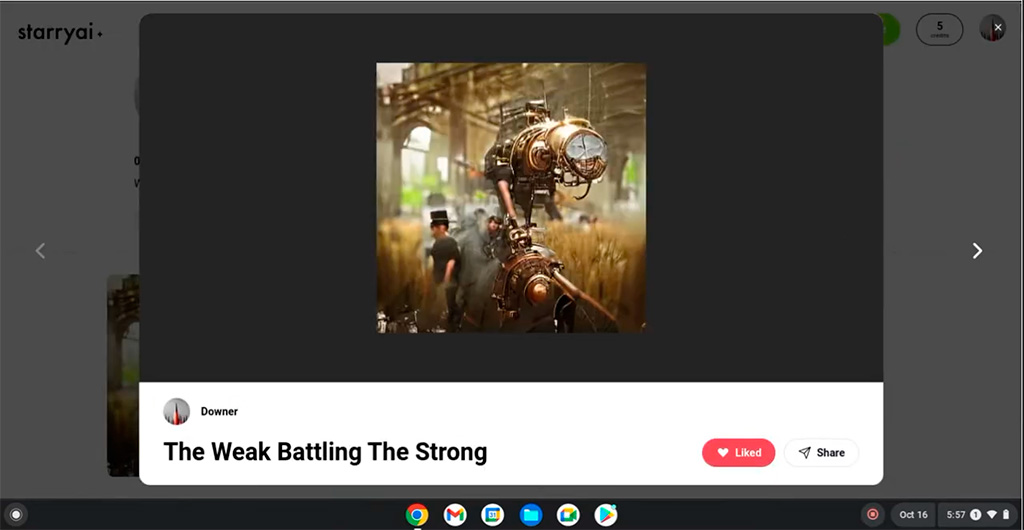
- Generation button: This is the main button that will take you to the image creation screen.
- Generated images gallery: Here you can view examples of images created by other users as well as your own creations.
- Options menu: In the menu, you can adjust settings, review your saved images, and purchase premium features.
Generating an image in StarryAI
Now that you have access, the next step is to create your first image. The process is intuitive, but requires following a few steps to achieve the best results.
Choose a generation mode
StarryAI offers several image generation modes. You can choose from different styles, such as abstract, realistic, or even style fusion. To select the mode, do the following:
- Open the app and go to the "Create" option.
- Select the style that appeals to you most or best suits the idea you want to convey.
Enter a detailed description
The key to getting an appealing image is in the description. The more specific your description, the more accurate the image generated by the AI will be.
Follow these tips for a good description:
- Include keywords related to the style and elements you want to see.
- Use adjectives that describe the mood, colours, and overall atmosphere you want to achieve.
- Add specific details if necessary, such as lighting, perspective, or focus.
Example: "A futuristic landscape at sunset, with glowing buildings and purple skies, cyberpunk style."
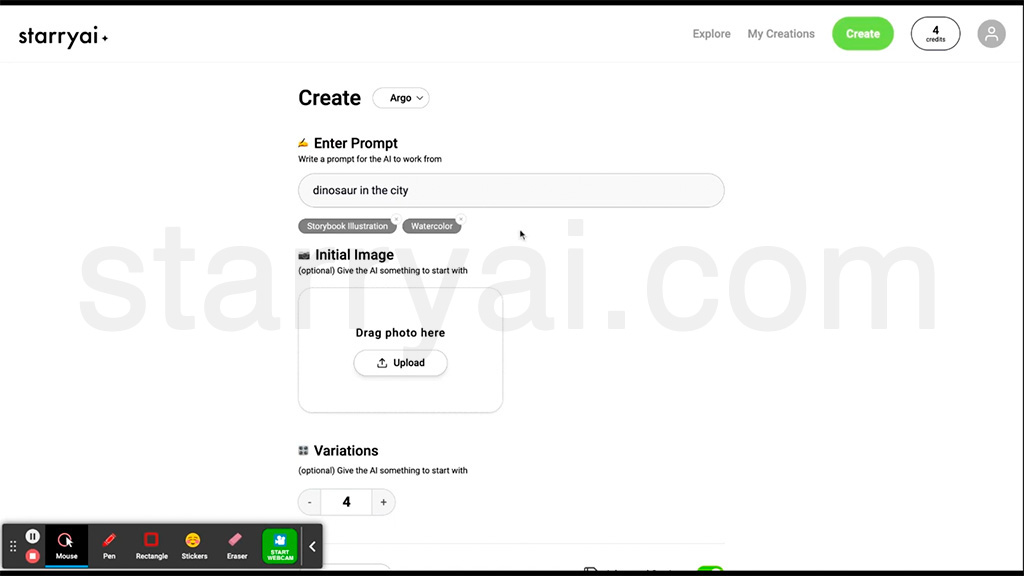
For instance, you could write "a mountainous landscape at sunset" or "a futuristic portrait in blue tones."
Choose the artistic style
After entering your description, it’s time to select the artistic style. StarryAI offers you several options, from abstract styles to more realistic representations. You can select from a variety of predefined styles, such as "Concept Art", "Hyperrealism", "Watercolour", "Digital Painting", among others.
These styles directly influence the final appearance of the generated image.
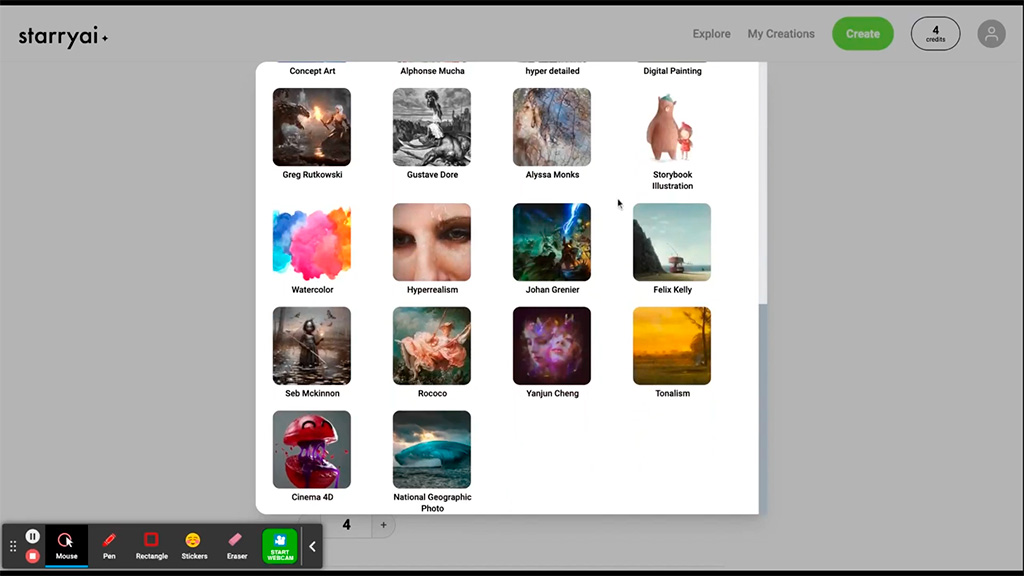
For example, selecting the "Greg Rutkowski" style could generate an image with an epic focus and fantastical details, while "Watercolour" would produce an image with a softer and more artistic finish, similar to a watercolour painting.
Exploring these styles will allow you to give your image a unique personality.
Adjust the customisation parameters
One of StarryAI’s advantages is the ability to customise certain image parameters.
You can adjust the colour palette, level of detail, brightness, and other visual elements to ensure the image better suits what you have in mind.
Advanced parameters
For those seeking greater control over the result, StarryAI also allows you to adjust advanced parameters such as the image seed, size, and processing time.
This will let you fine-tune the generated art according to your specific preferences.
Optimising the final image
Once the AI has generated the image, you can review it and make some final adjustments to enhance it.
Here’s how to optimise your creation:
5. Evaluate and edit the image
When the image is ready, StarryAI will show you a preview. At this point, it’s important to evaluate whether the result meets your expectations.
- If the image is not exactly what you wanted, you can adjust the description or parameters and regenerate it.
- Use in-app editing tools to make quick changes, such as adjusting brightness, contrast, or adding filters.
How to save and share your images
Once your image has been generated, StarryAI offers options to save and share your creation.
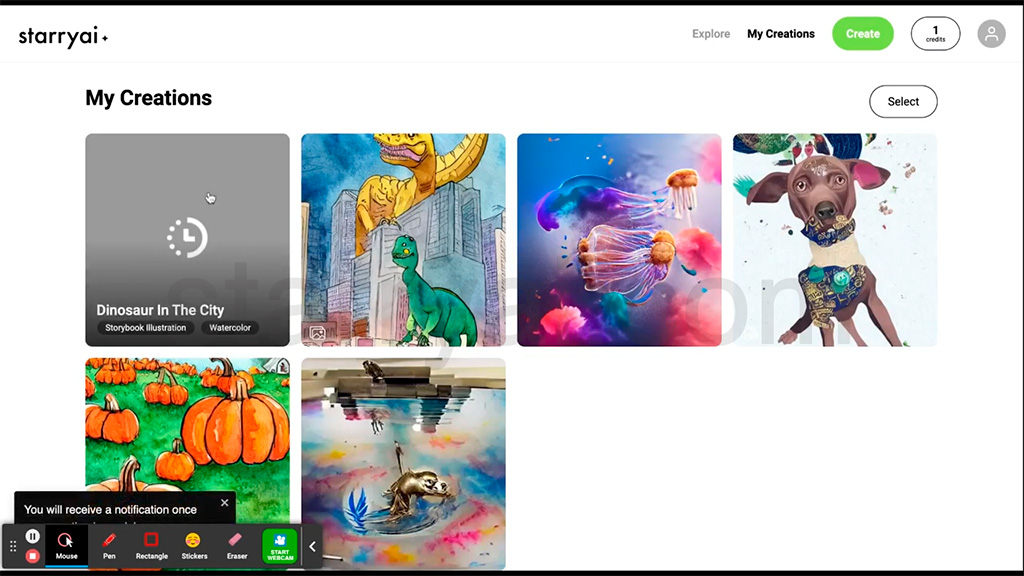
1. Save to the gallery
StarryAI allows you to save your generated images directly in the app’s gallery. This way, you will always have access to them from your profile and can download them to your device at any time.
2. Share on social media
If you want to showcase your artwork to the world, the app includes integrated features to share your images directly on platforms like Instagram, Facebook, or Twitter.
You can also copy the image link to share it via other messaging apps or email.
Advanced tips for getting the best results
Creating images with StarryAI is a process that can improve with practice. Here are some tips to maximise the quality and visual impact of your AI-generated images.
Be descriptive
The more detailed your description, the better the result will be. Try to include words that describe the atmosphere, colours, and visual details you want.
For example, instead of saying "a city," you could say "a futuristic city at dusk with illuminated skyscrapers."
Experiment with different styles
StarryAI gives you the option to switch between various artistic styles, allowing you to experiment with different versions of the same description.
Don’t be afraid to try something new or unexpected; try combining realistic descriptions with abstract styles for more intriguing images.
Adjust the parameters
If the initial results aren’t quite what you expected, adjust the advanced parameters.
The image seed or processing time can significantly influence the quality and style of the generated art.
Use the image fusion mode
In addition to generating images from scratch, you can also merge existing images. Upload an image as a base and allow the AI to modify it according to a new description.
Generate multiple versions
If you’re not completely satisfied with the first result, you can generate multiple versions with slight changes to the description or settings, to have more options to choose from.
Is the premium version of StarryAI worth it?
StarryAI offers a free version that allows you to generate images with limitations, but it also has a premium option that expands the functionality.
Some of the benefits of the premium version include:
- Access to more styles and customisation parameters.
- A greater number of daily generations.
- Higher resolution images.
If you plan to use StarryAI regularly or for professional projects, the premium version could be a valuable investment.
Note: Although the free version is quite comprehensive, the advanced options in the premium version can make a significant difference in the quality of the generated art. But if you want the Premium options without paying, download the StarryAI APK from this link.
StarryAI is a powerful and accessible tool for anyone interested in creating images through artificial intelligence. From hobbyists to professionals, this app offers a wide range of options to generate stunning images from text. By following these steps, you’ll be on your way to mastering the use of StarryAI and getting the most out of its features.
Leave a Reply